Sirius 600 Model Hovercraft
Last Edit/Update 26 April 2025 0830
This is the story, of the Model Hovercraft I built in 2025.
When visiting Deans Marine to pick up the Elco Kit, I had a short play with a model hovercraft and decided that would be my next project. On the 4th of December 2023, enough pocket money had accumulated to be able to order the kit. Sirius 600 from www.modelhovercraft.co.uk Palaform Limited. With Powerpack C and E for twin motors, one for lift and one for thrust.
Unfortunately, there was a delay in the kit arriving with me, a delay of around 14 months due to unforseen circumstances at Palaform.
The radio I bought for the Elco had two receivers with it. The original plan was to use the spare radio receiver and re-use the Lipos from the Thunder Tiger in the hovercraft. In the intervening time, both the radio receiver and Lipos in the Thunder Tiger clapped out. I replaced the receiver with the spare. Fortunately the receivers for my Radiolink are dirt cheap to pick up, so that will be ordered on my next pocket money day. The Lipos were not cheap to replace. I had left them too long without servicing them and they became useless.
29 February 2025
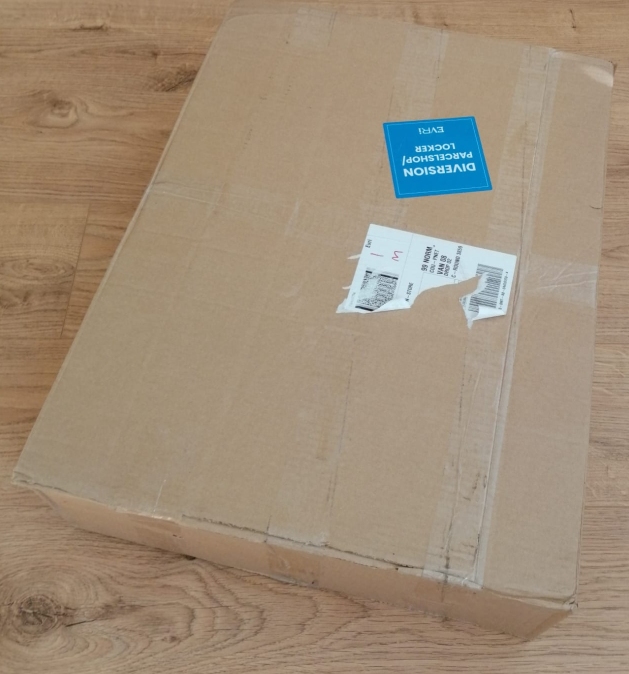
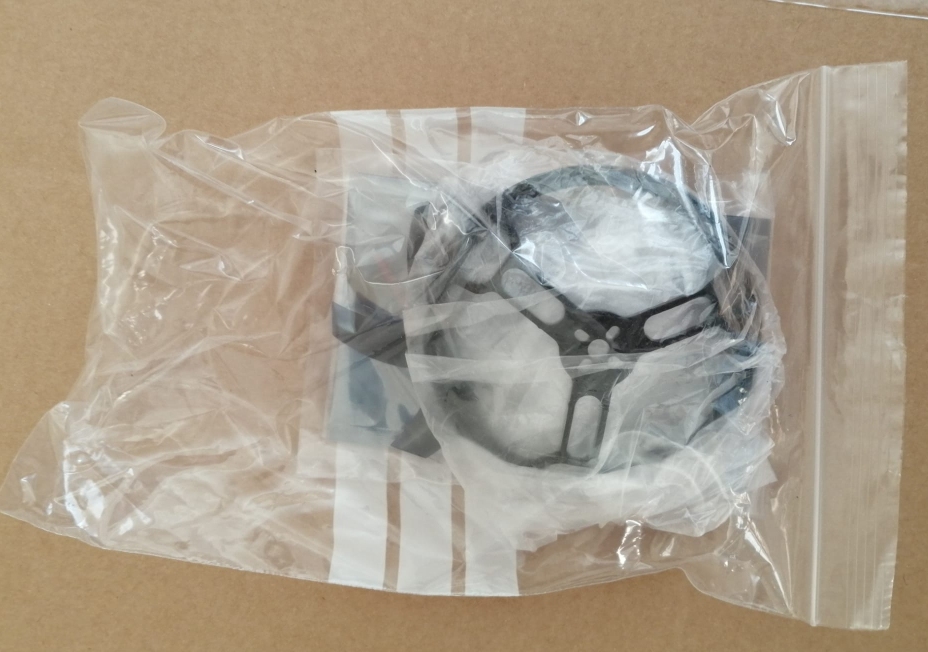
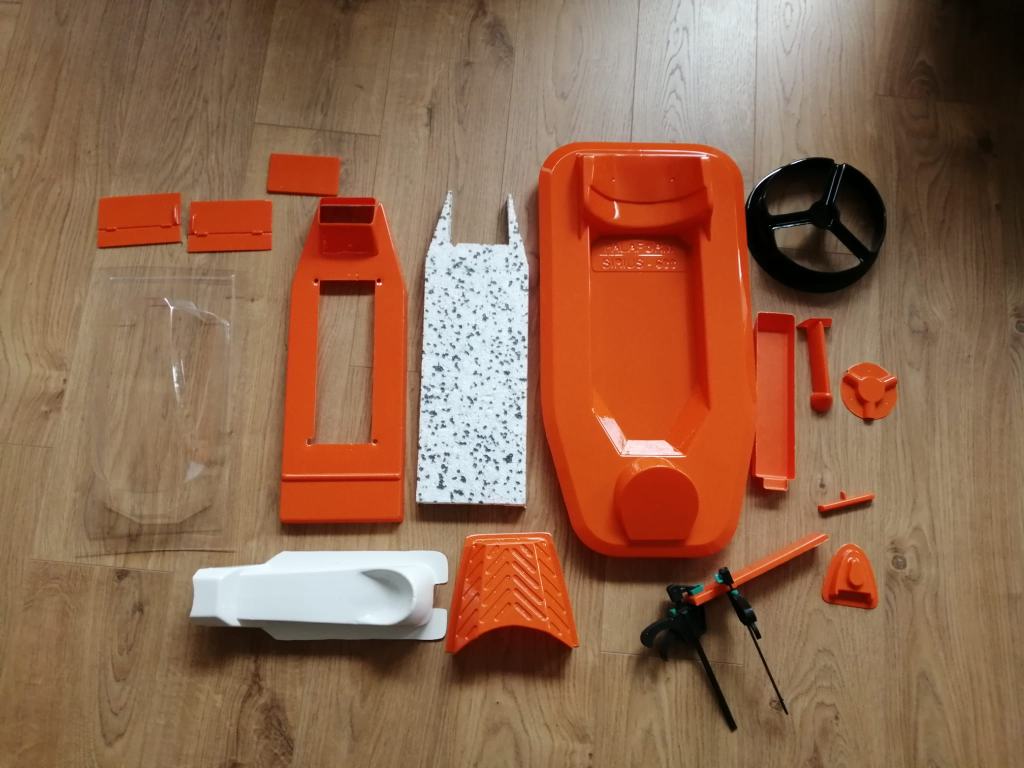
The box arrives
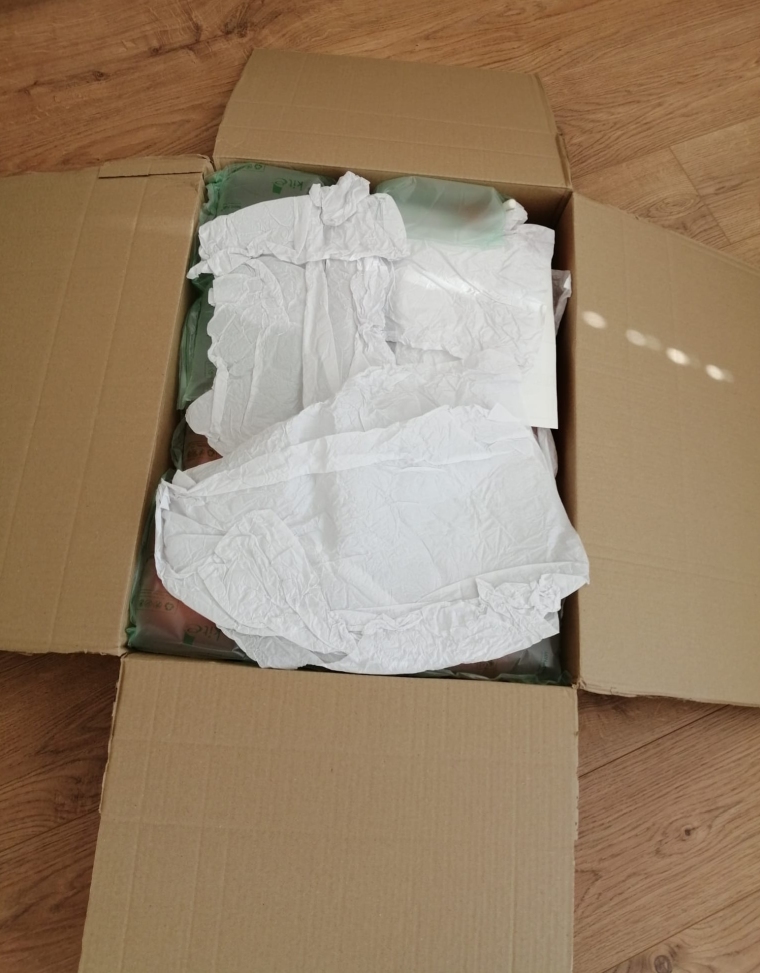
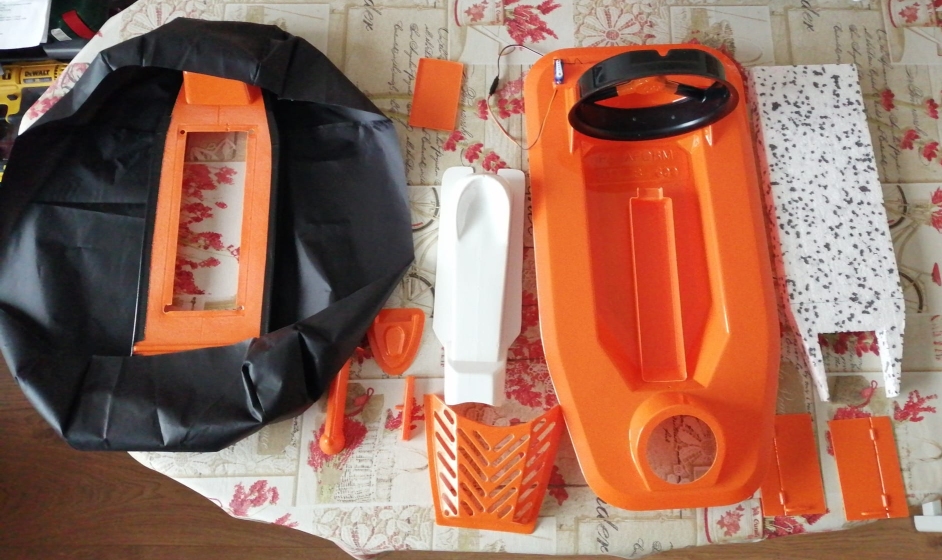
Unpacking, checking and a preliminary read through the instructions.
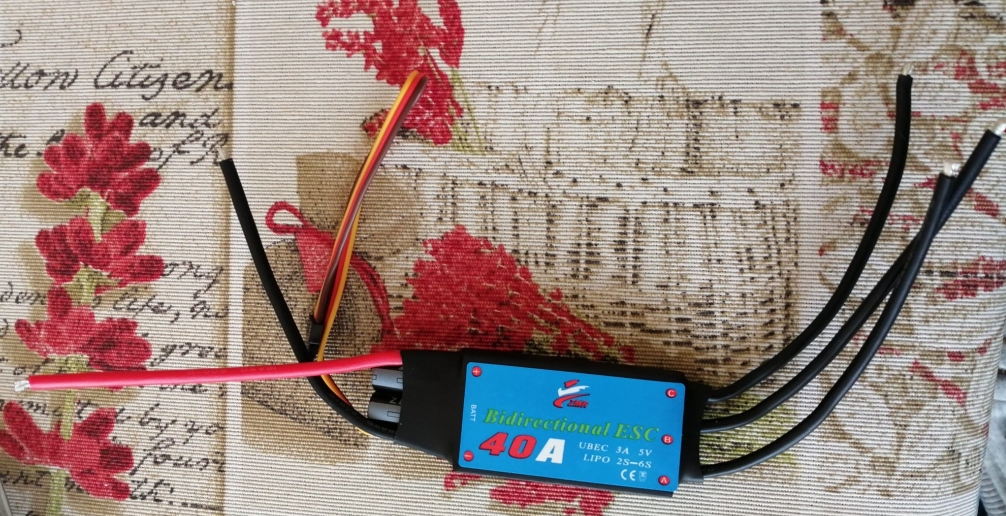
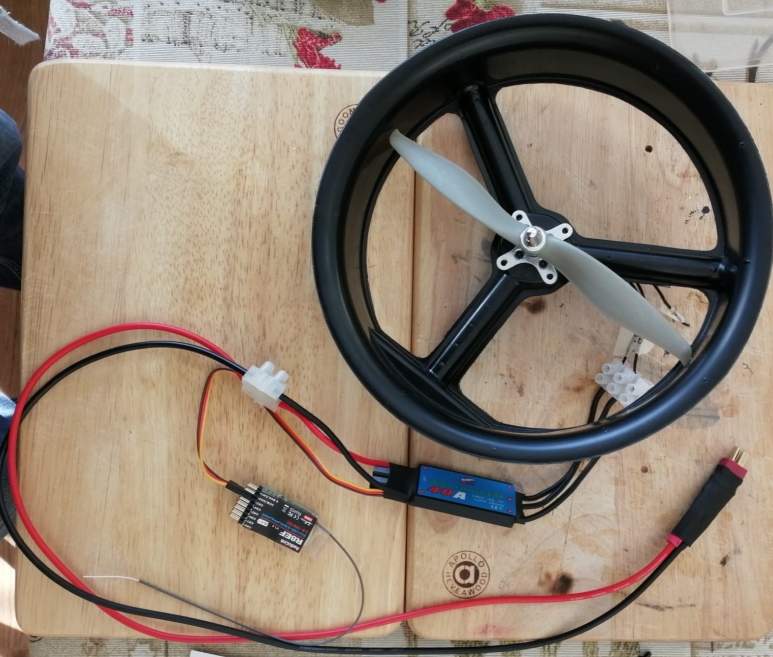
Previously my ESC and motor connections were coloured or labelled. None of these are as you will see from the photos. I suspected this would not matter too much but needed to confirm it with a bit of googling. It seems that no matter how you connect the three wires, it will work. It only changes the direction the motor turns which can easily be sorted out.
The rest of the kit seems to be straightforward enough
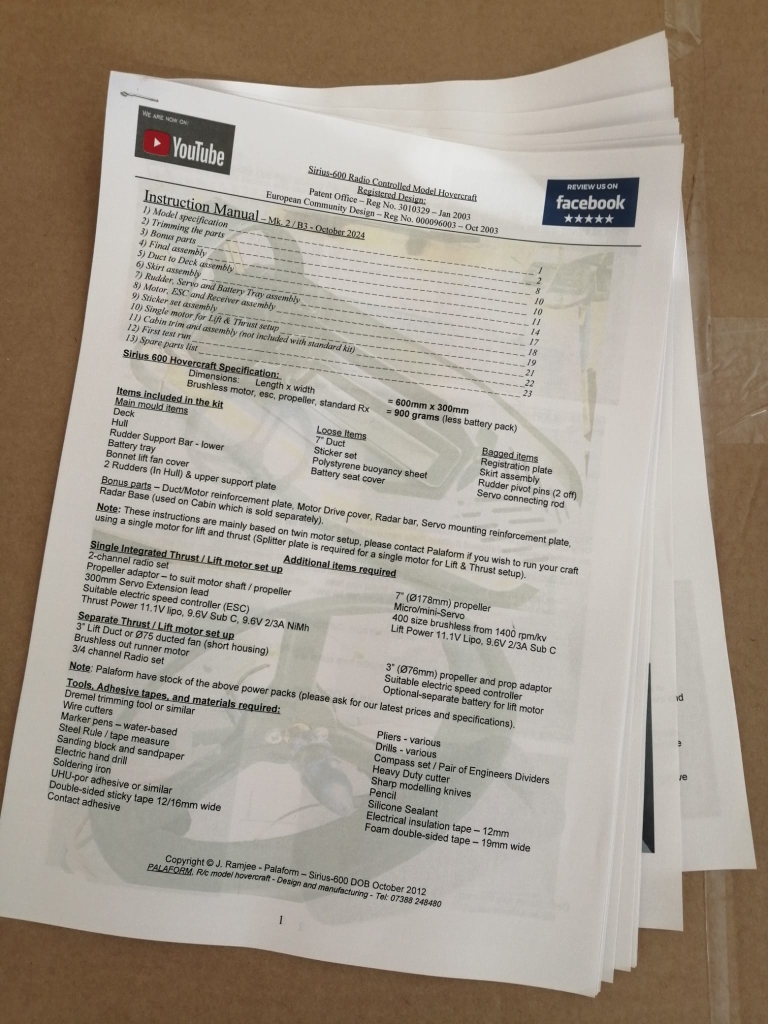
Comprehensive instructions with plenty of images
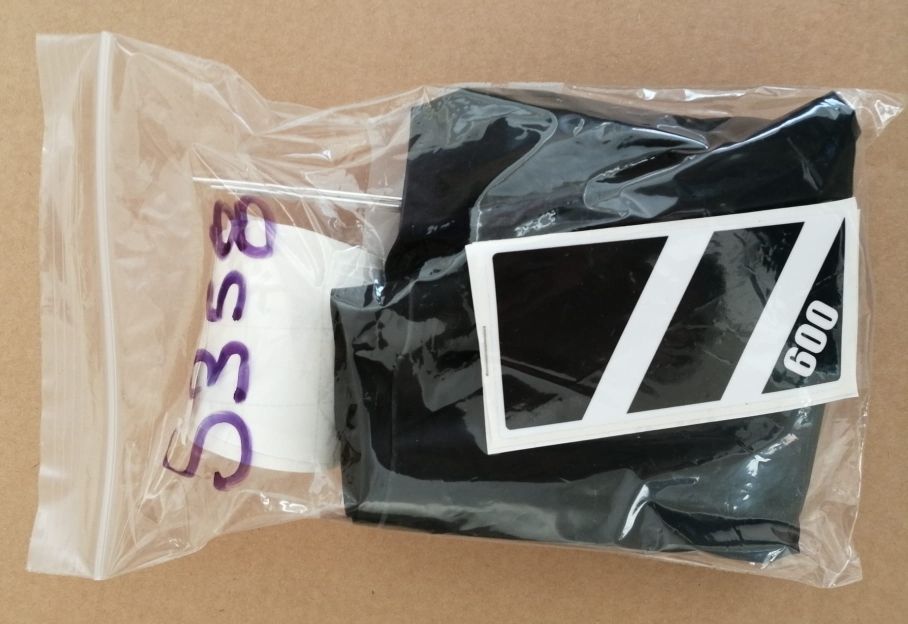
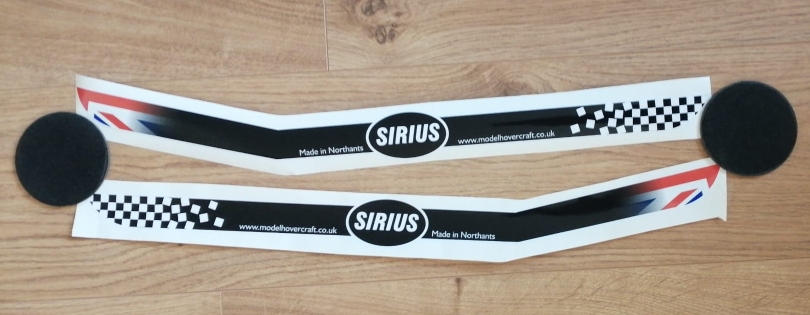
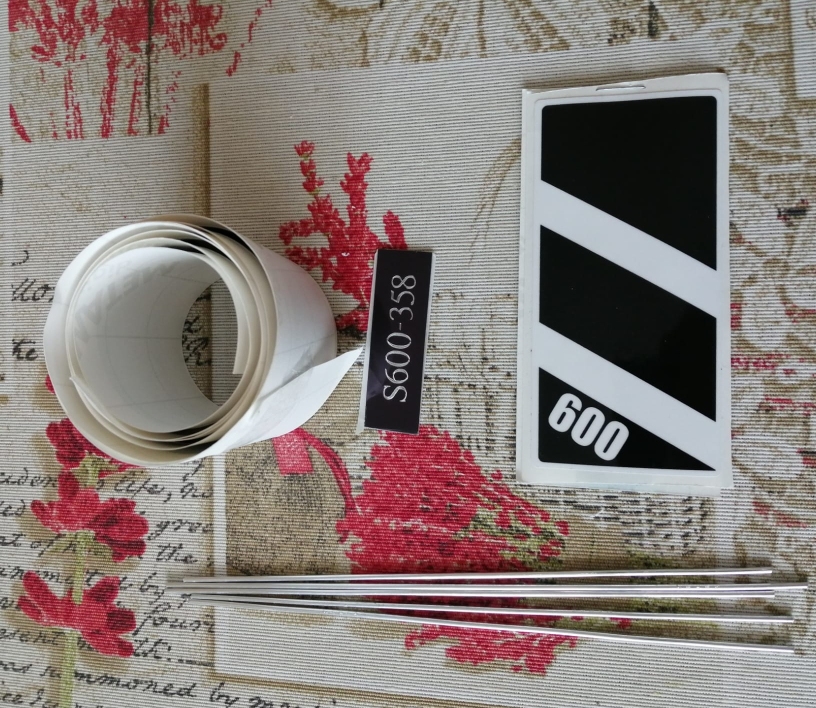
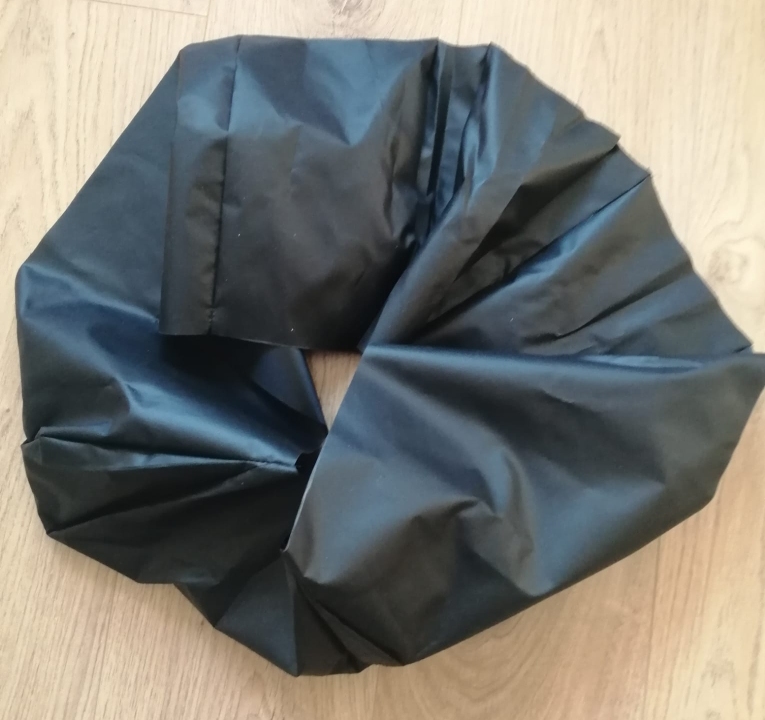
Stickers and skirt
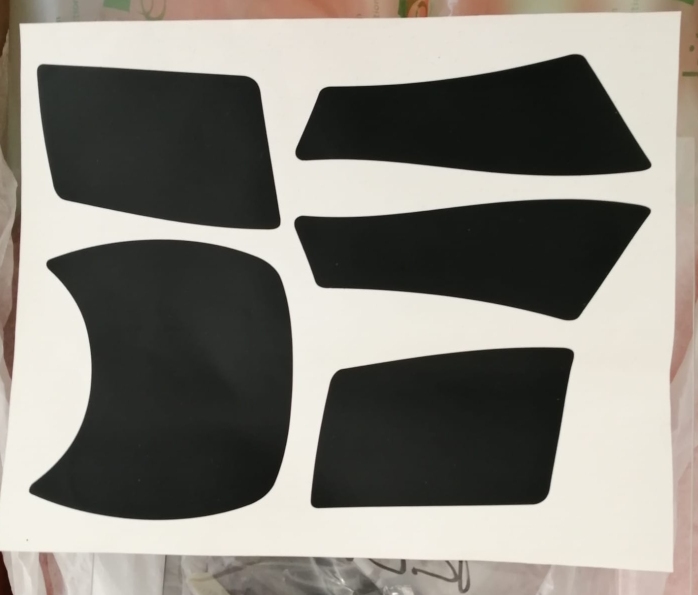
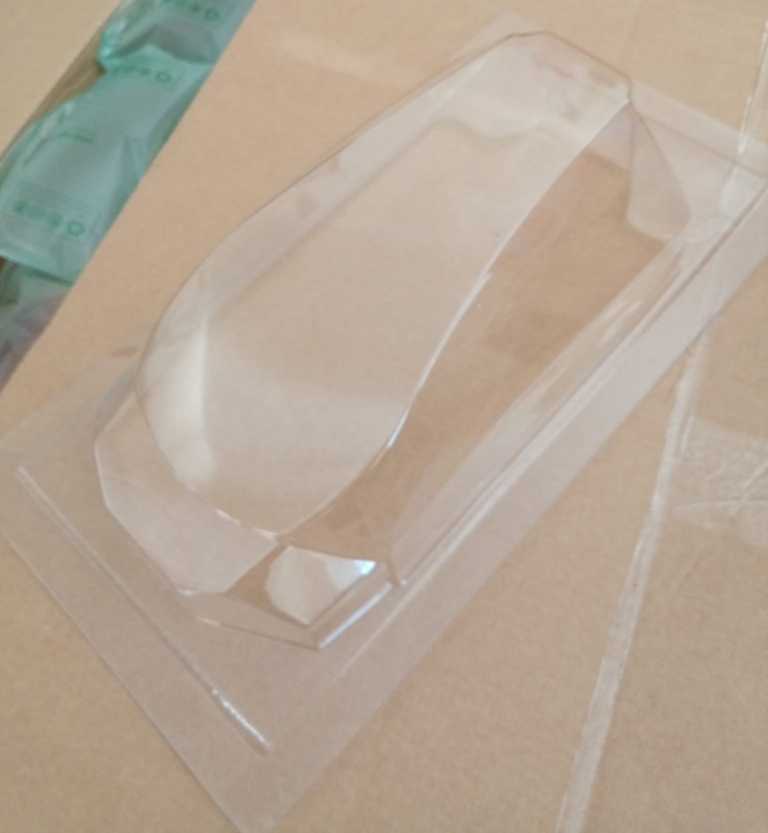
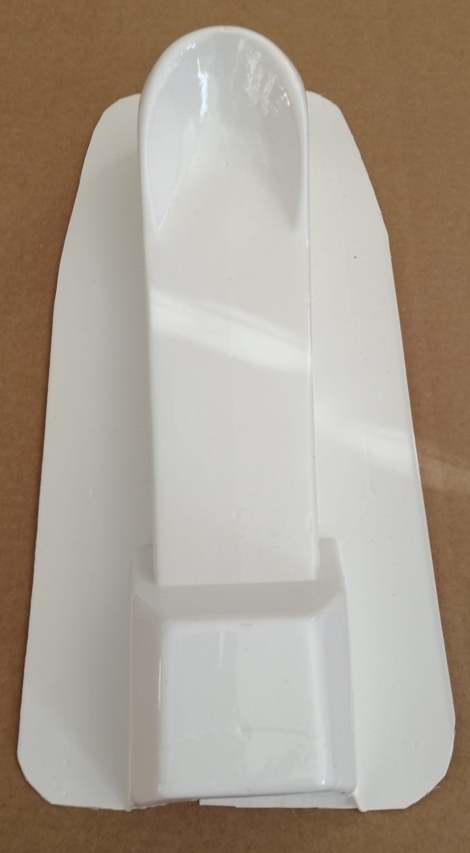
Cabin Cover
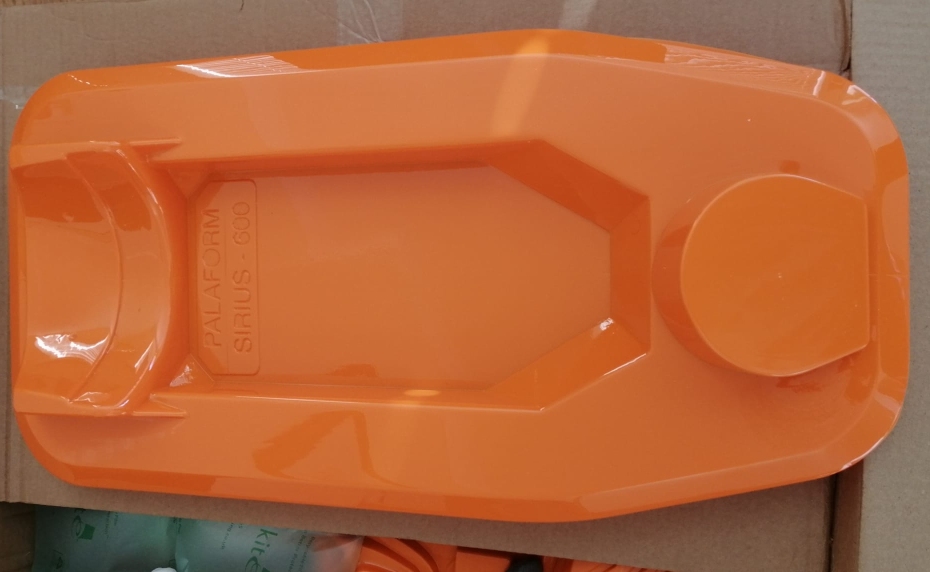
Deck
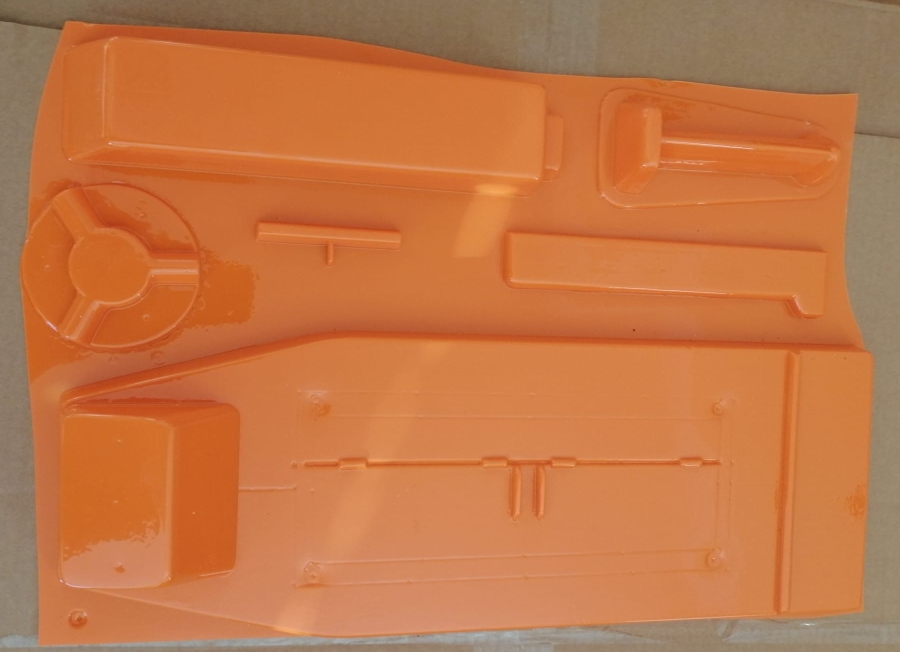
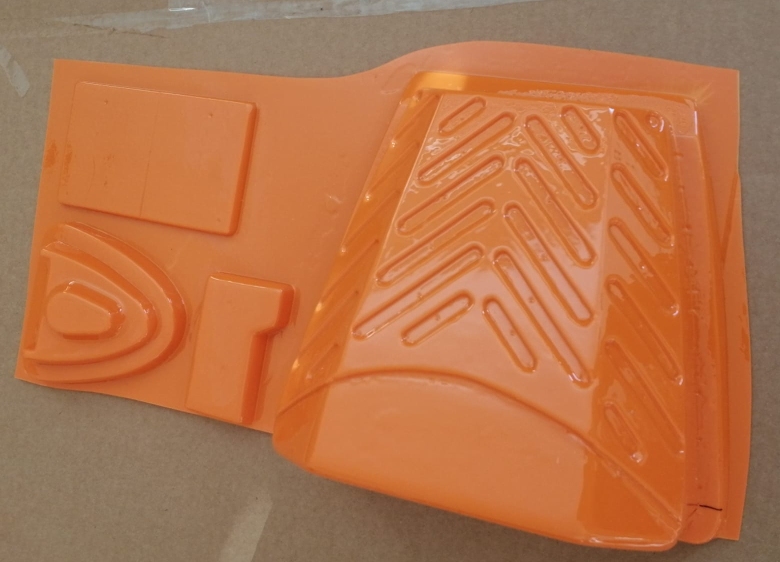
Sheets of parts
Battery/seat cover
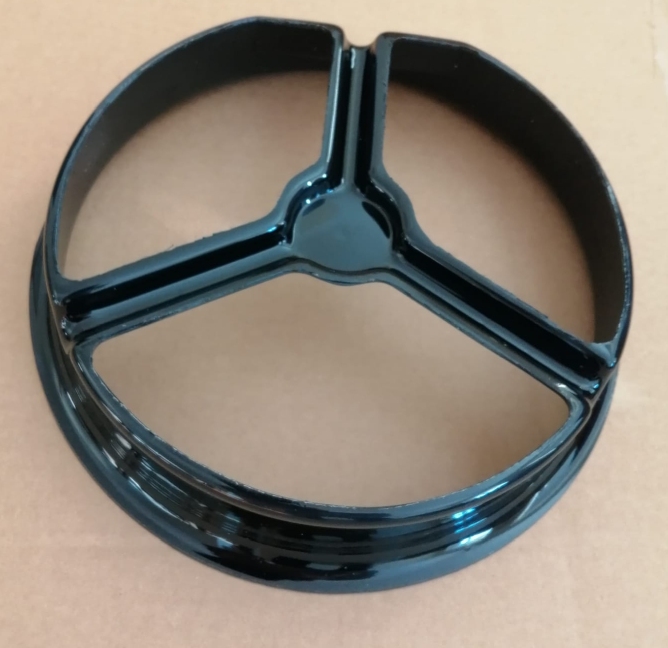
Duct
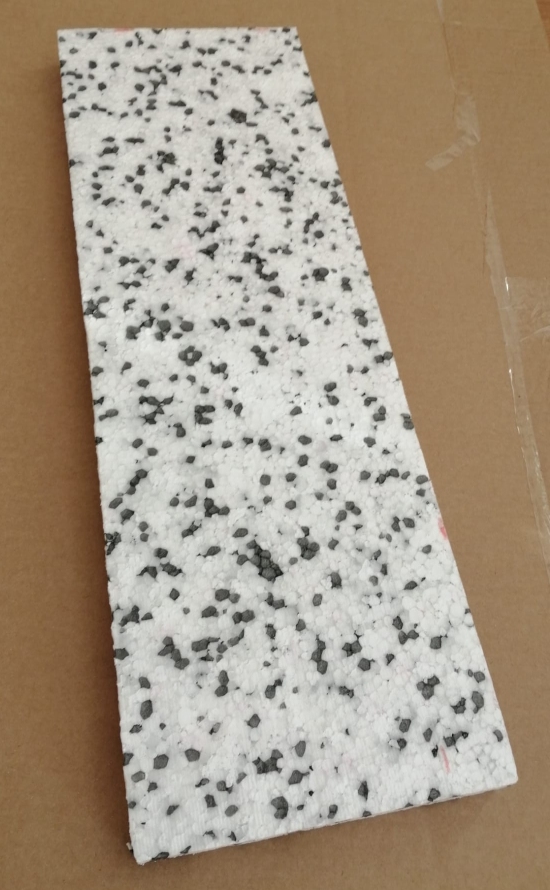
Flotation
Propulsion
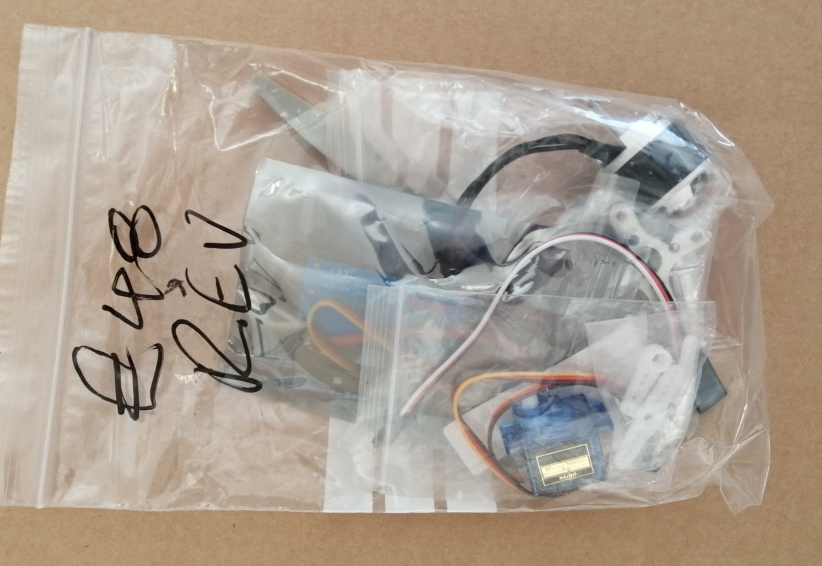
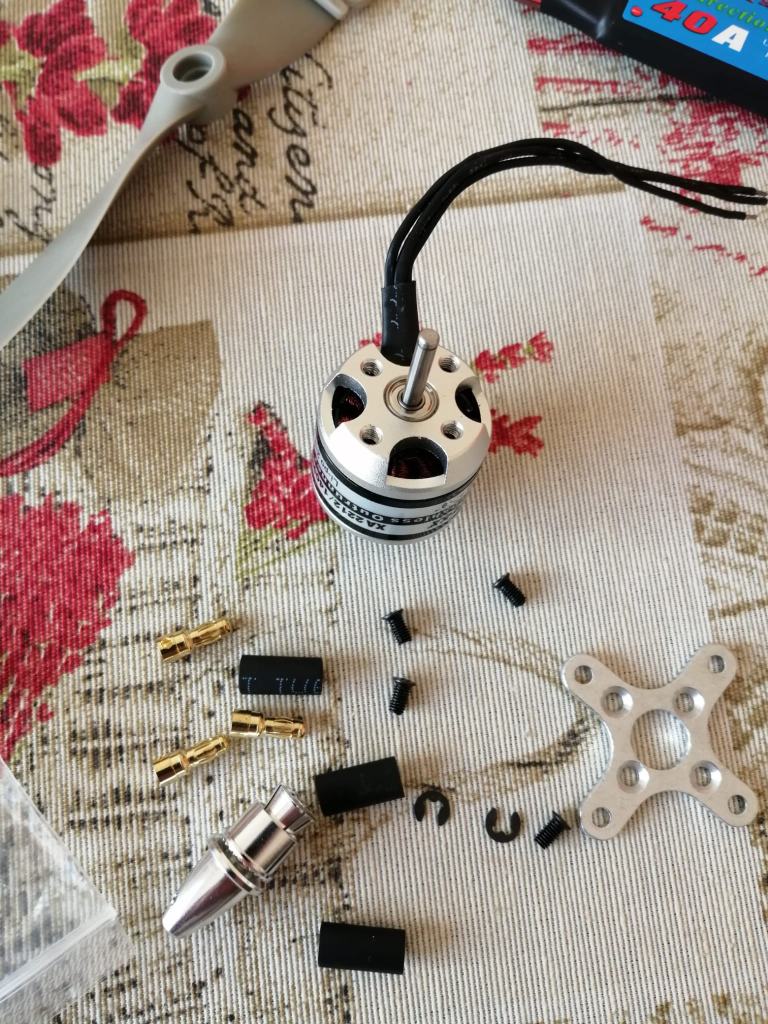
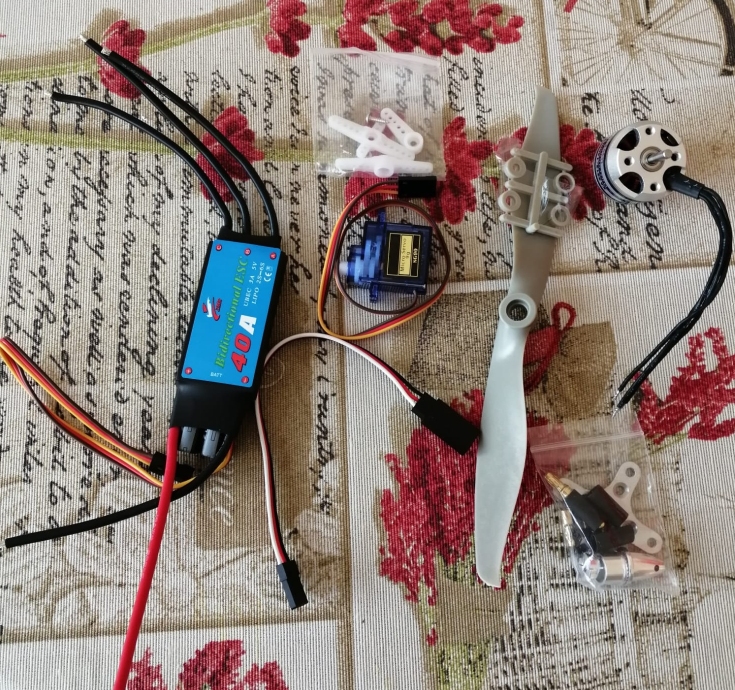
Lift
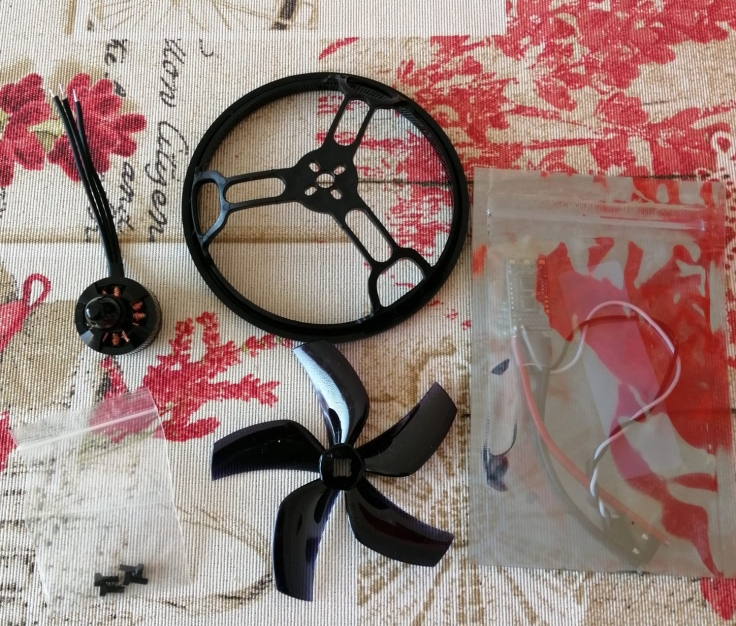
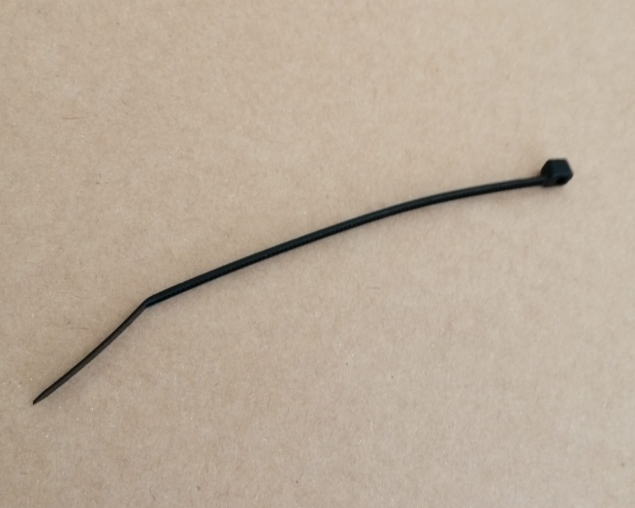
A bonus tie
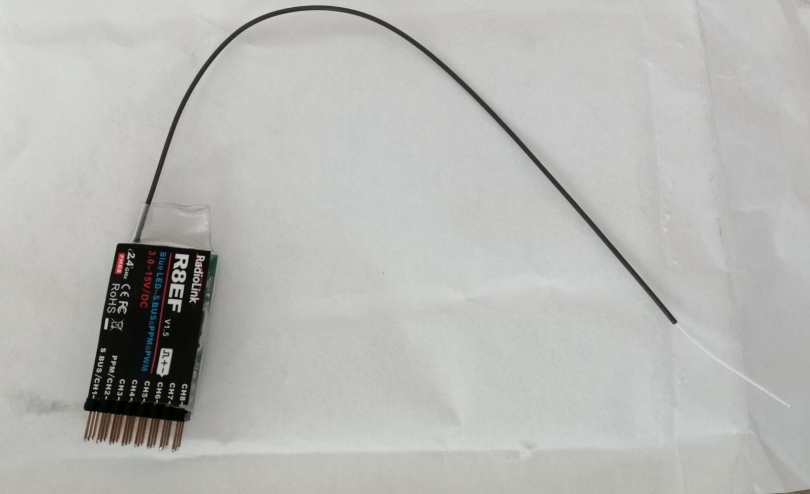
1 March 2025
The Receiver arrives
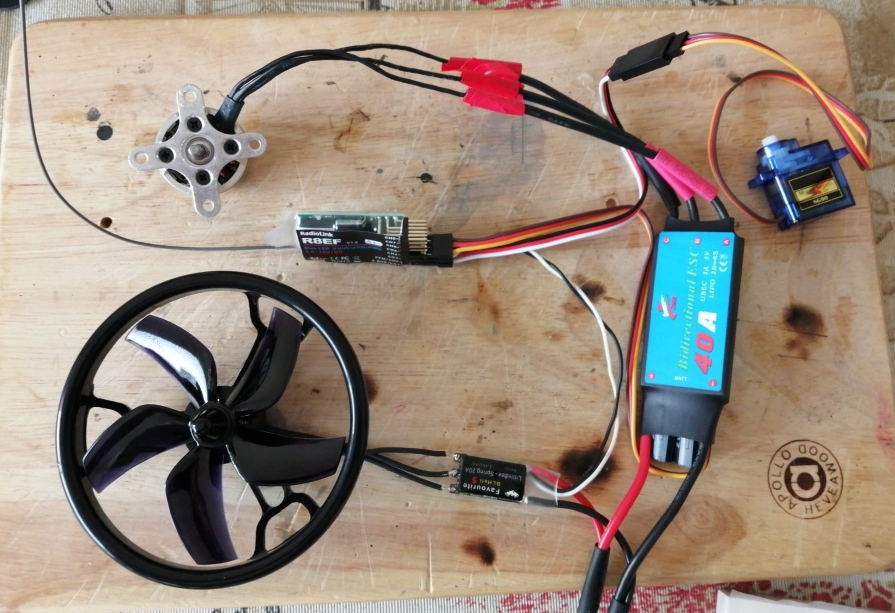
Preliminary radio setup to check it all works as expected. A bit of fiddling around to get the wiring for the lift motor. There were 6 possible ways it could be connected and it took me 6 attempts to get it right. Anyhow, all ready to be put into the hovercraft with the soldering tidied up when it is time.
3 March 2025
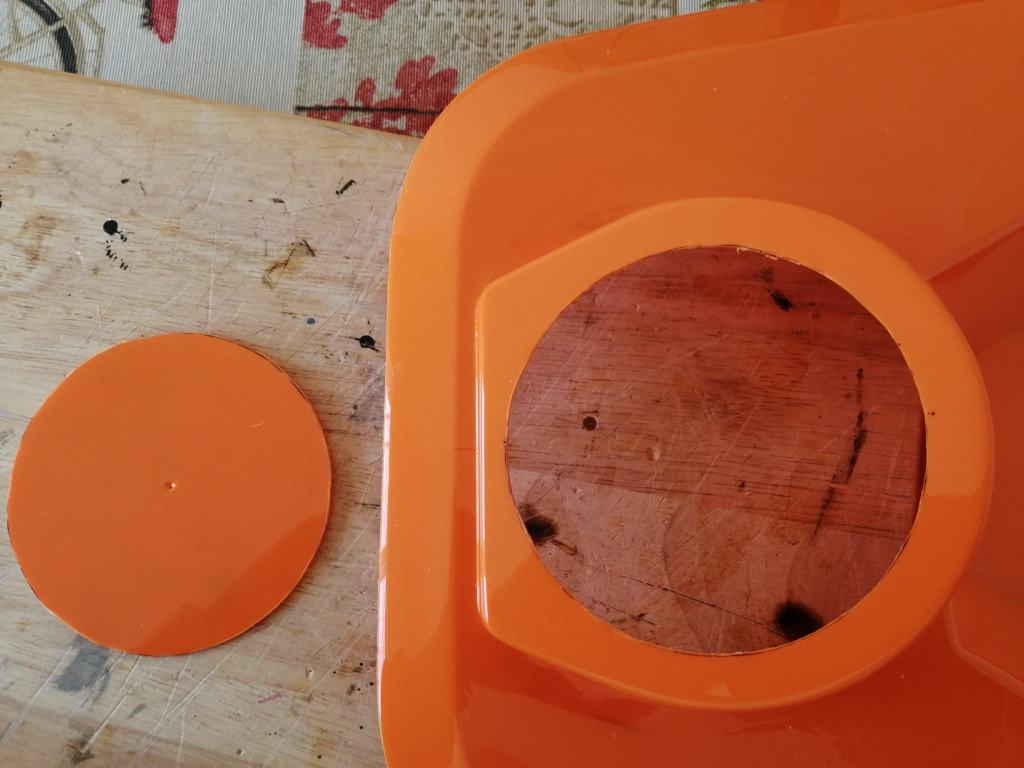
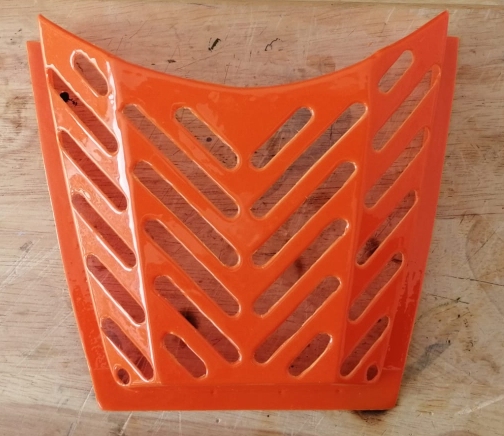
All parts cut out of the sheets. Holes in the bonnet to cut out, hole for lift motor assembly to cut. Smoothing of edges. There are a few other fiddly bits left to cut out. I will leave cutting the canopy until later.
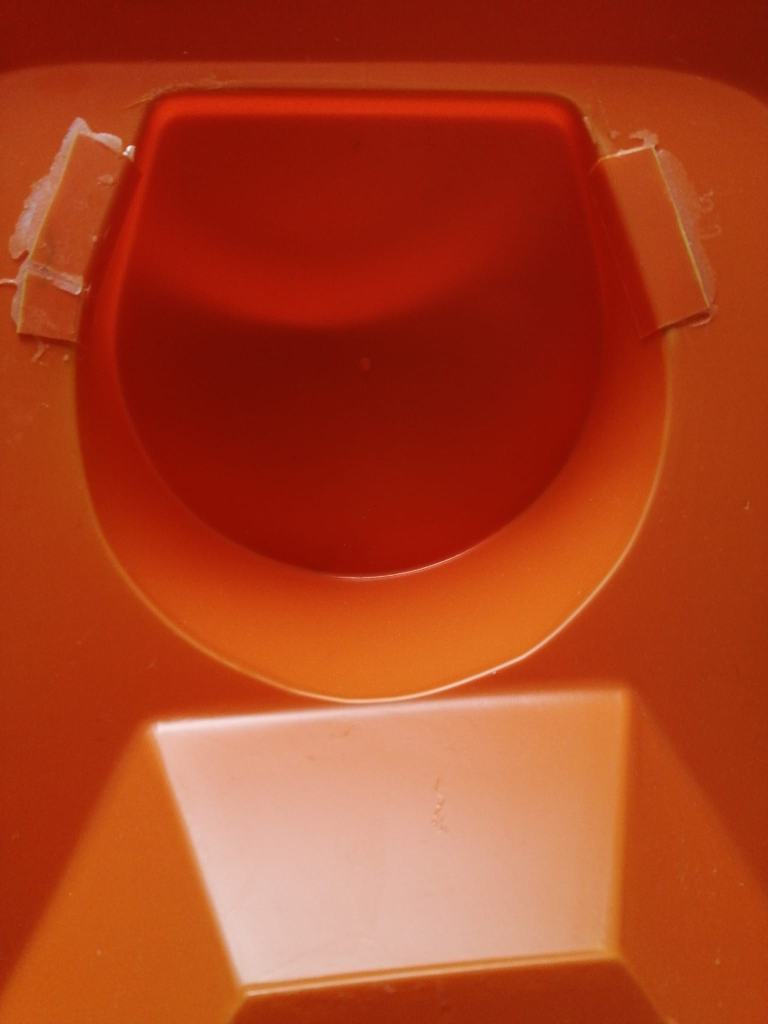
Damage caused in transit repaired, the deck was probably squashed a little causing stress marks on the corner of the lift motor mount and deck. Braced from the inside with offcuts.
4 March 2025
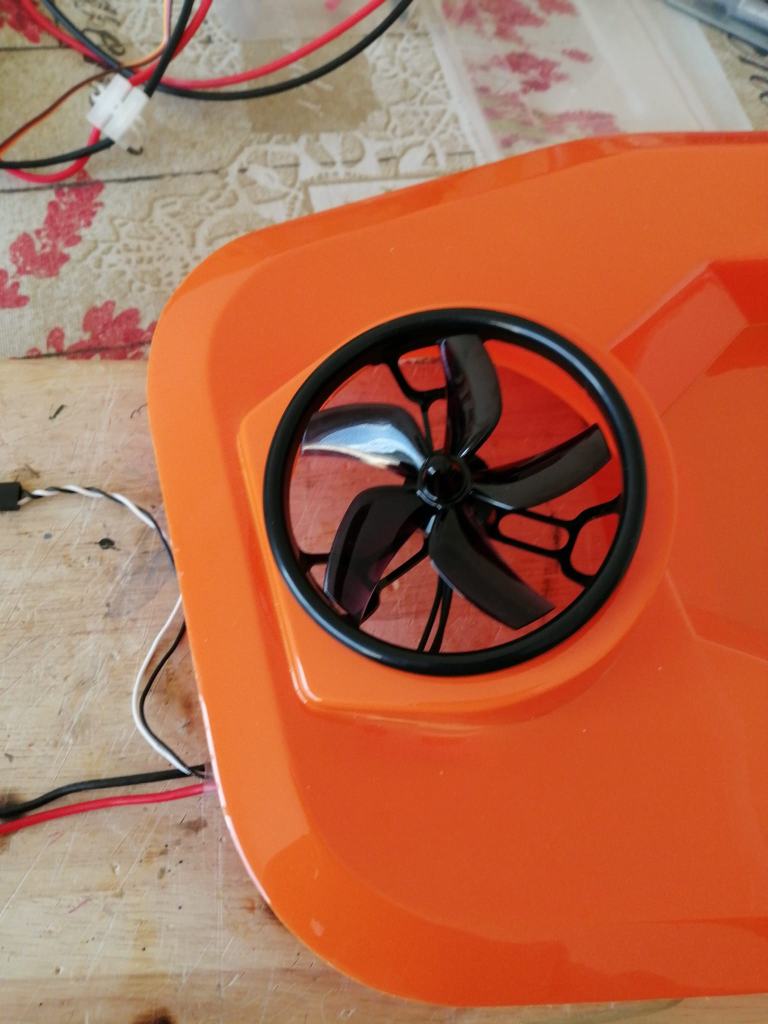
Set up the main motor and prop in the housing, tested and working as expected.
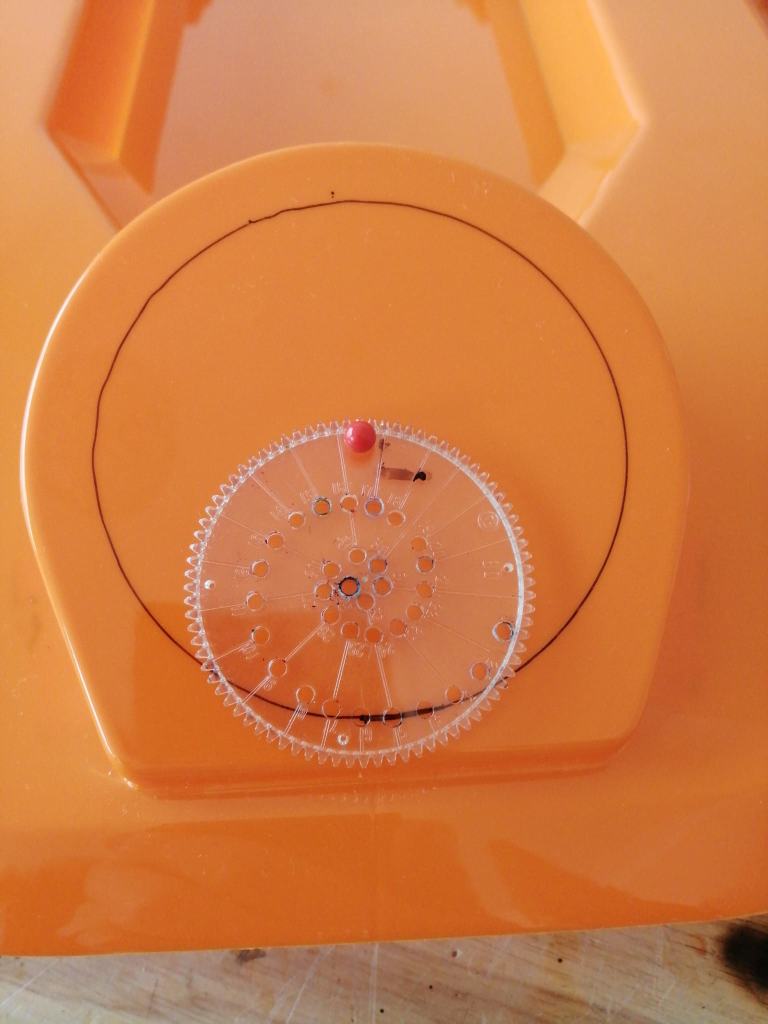
The instructions required engineers dividers or a compass to accurately draw and cut out the hole in the deck for the lift motor assembly. Possessing neither of these items. It seems compasses are hard to come by in the shops, maybe because they are too pointy. I had put some dividers in my Amazon basket but had a thought that would maybe do the job for free. I dug out my Spirograph set that I have had since the 1960s and examined the wheels. I found that wheel 80 mounted in the pin hole between pen holes 16 to 17 using pen hole 6 with a marker pen drew the required 82mm circle perfectly. It was then cut out nicely by knife.
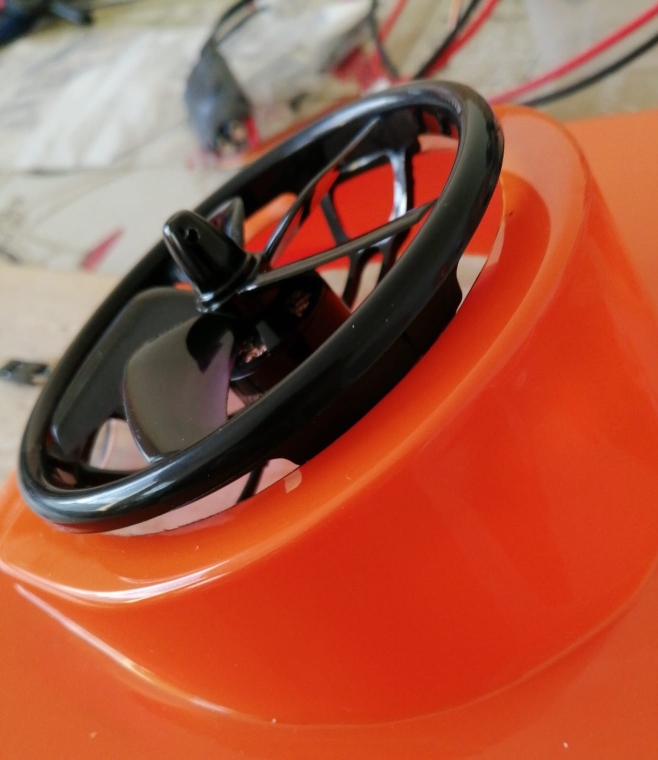
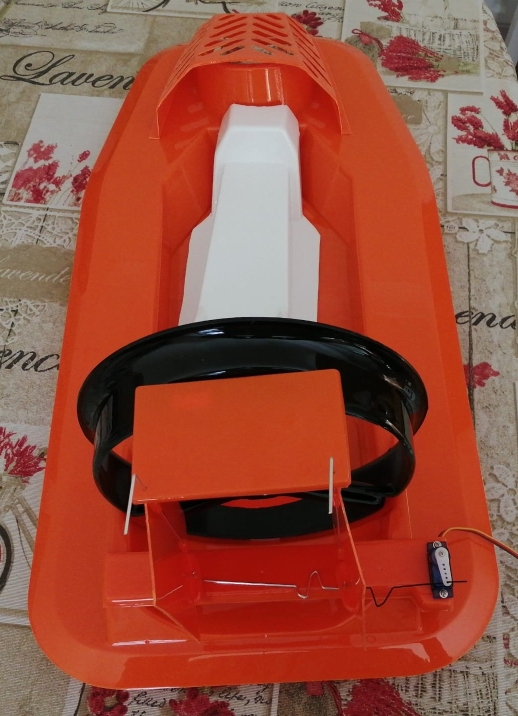
Lift assembly balanced in place
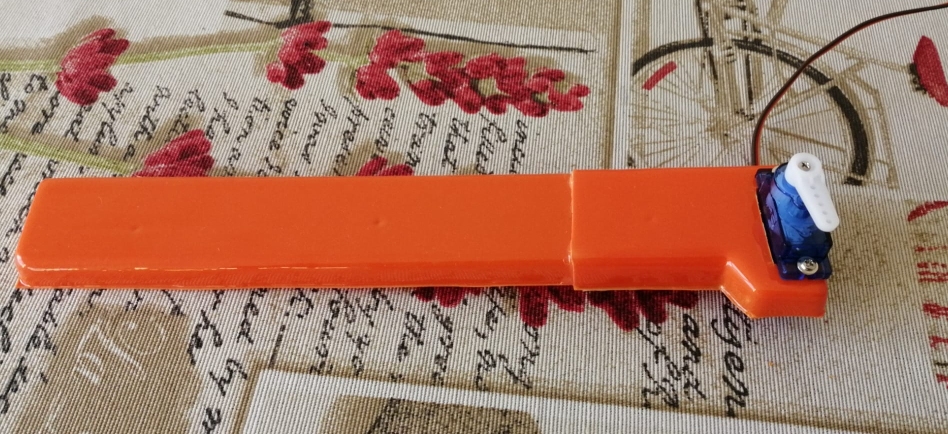
Fitted the mini servo to the lower Rudder bar
All tentatively balanced together with a lot of final trimming and sanding to do to all of the parts. The bonnet needs filling with holes but that should then be most of the cutting out all apart from the cabin cover. Some stuff ordered off eBay, a cheap mini servo, Orange LED with various modes and LED headlights
5 March 2025
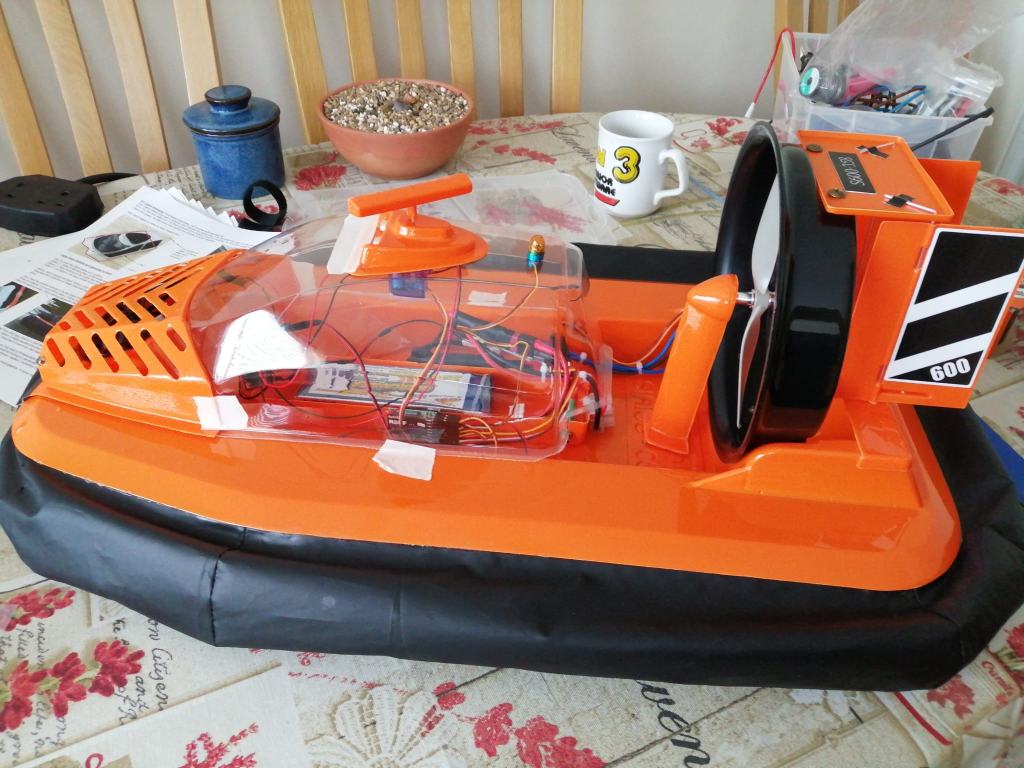
A lot of fiddly bits done including radar. Radio, battery and motors all placed in roughly the right places so see how it will all fit together. Bonnet filled with holes.
Rudder assembly prepared. Balanced together for the photo. The holes for the lower rudder bar are not yet drilled so the rudders look a bit rubbish but it all seems to be good.
6 March 2025
More fiddly bits done including sanding everything that needs sanding. Construction started. Applying of double sided sticky foam and tape. I had a bit of trouble getting the skirt on to the hull, it just would not fit, the skirt was too tight. The foam tape I was using was about 2mm thick. Fortunately, I had some more foam tape that was about 1.5mm thick. That worked, a nice tight fit all around the hull. Duct fitted and screwed in place. Having reinforced the motor mount, the screws are too short, awaiting delivery from eBay, along with various other bits that are on the way.
10 March 2025
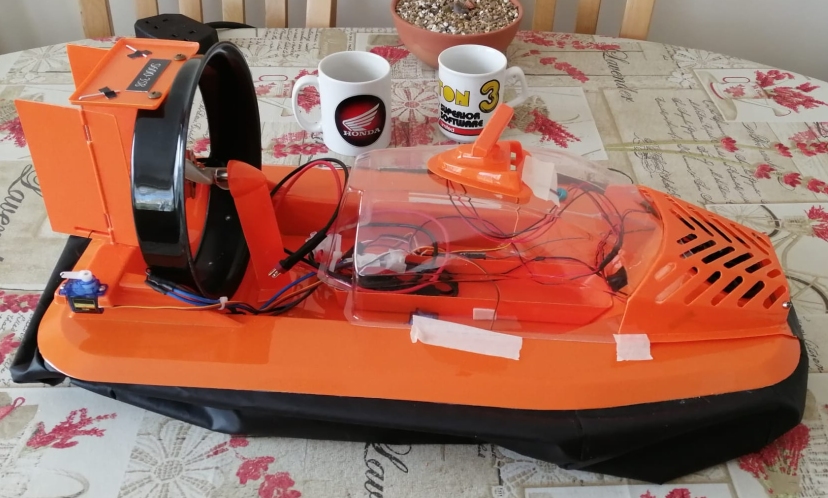
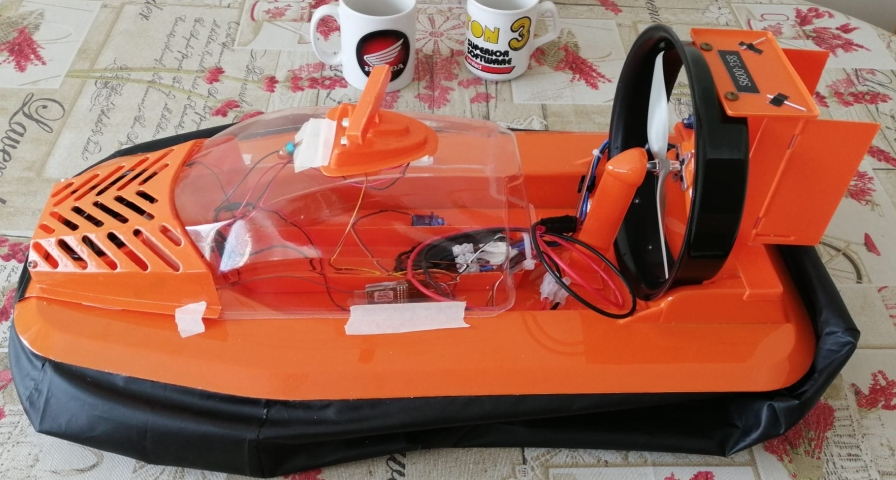
Everything ordered arrived. Long bolts for mounting the thrust motor. Build progressing nicely. The skirt needs fitting to the deck. The rudders need fixing in properly This video shows the radio and electrics all working. Rudders, lift motor, thrust motor, LEDs for the top of the cabin and a doctored mini servo for the radar. The mini servo was dismantled and the limiter peg removed from the top gear, this enabled the gearing to rotate fully. Next, the potentiometer inside was moved to a position where when powered up, the gearing did not rotate, then glued into place with a dot of hot melt glue.
11 March 2025
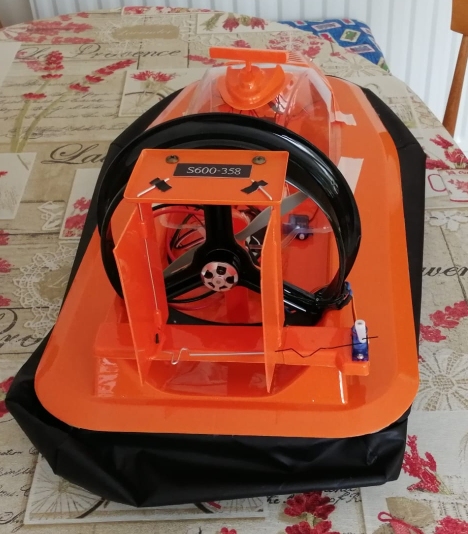
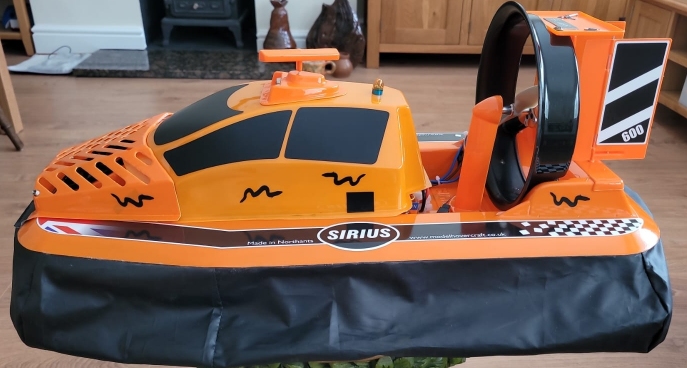
Skirt attached. White and red LEDs fitted. Radar made up with servo for rotation prepared but not fitted. Registraton plate fitted. Cabin cut. Testing. Very pleased with it so far. Still a lot to do but it's working :-)

12 March 2025
Up and running almost there. I plan to spray the inside of the cab orange and put the window stickers on the outside. I will then fit the radar housing properly. That will leave the deck stickers to fit and cab to fasten in place.
24 April 2025
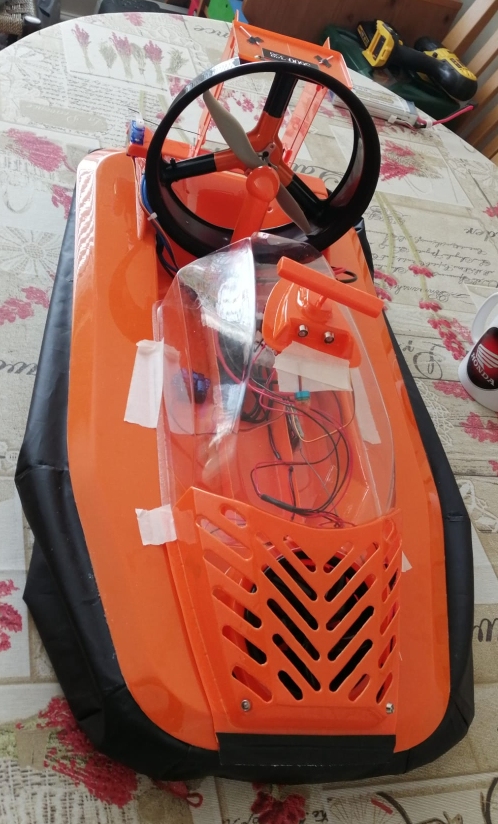
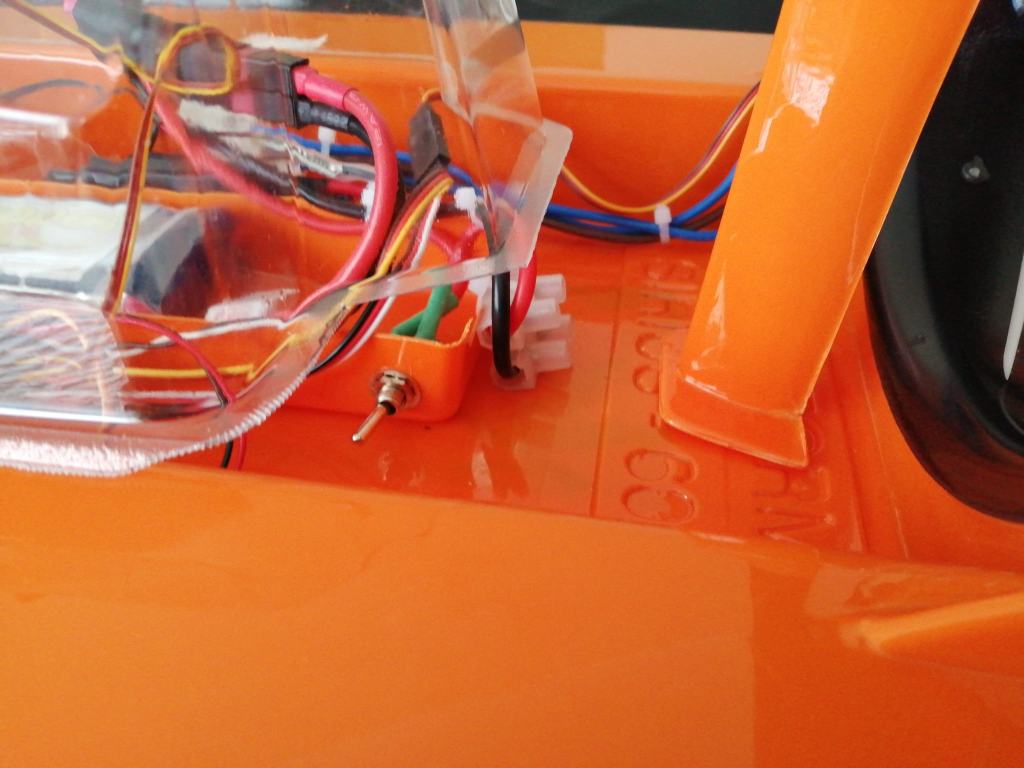
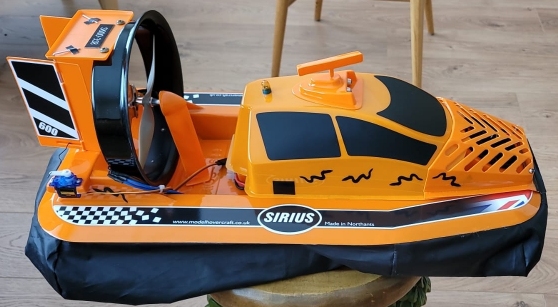
After a month away, work started on the hovercraft once more. Final fittings and tweakings here and there. The canopy sprayed orange. It is held on by magnets. Power switch fitted. Center of gravity marked. Eel stickers added, supplied by my mate Peter. I didn't use the battery/seat cover as very little of it would be visible and it was proving problematic fitting all the extra gubbins I wanted around it. It would have been possible but I thought not worth it on my particular model.
The controls are: Throttle left stick. Rudders right stick. Lift motor right bumper. Radar rotation left bumper clockwise and anticlockwise. Orange light SWB Channel 5, flip the switch for different modes. Using the bumpers for the radar and lift is very useful as they are proportional and static. As I use the control for other models, having to remove or replace the springs on the stick each time would be a nuisance.